What is microblading?
Microblading is a semi-permanent cosmetic enhancement that give the illusion of fuller brows. Essentially, it is the process of tattooing tiny brow hairs with a needle.
I initially thought that microblading was the same thing as permanent brow tattooing done in nail salons. Which, not going to lie, instantly turned me off. Come to find out, with microblading, the artist uses a needle to cut hair-like strokes then the semi-permanent ink is deposited under the skin. I love the fact that this is semi-permanent because you never know whether this is something you want to keep long-term.
The procedure takes about 3 hours to complete, so make sure you carve a good chunk of time out of your schedule when making your appointment.
It is recommended to get a touch up after the first 6 weeks. After that, you shouldn’t need another touch up for at least a year, depending on your skin type. If your skin is on the dry side, then you are in luck. Your brows will last a little longer than those who have oily skin. If you have oily skin, no problem! That just means you will have to get a touch up a tad bit sooner, usually around 8 months.
Price wise, it is definitely an investment. Services can range anywhere from $350 to $1,400 depending on the location, artist’s experience, and the type of microblading you decide to get done. Is it worth it? Well that depends. If you are someone who already has full brows, then I would say it’s probably not worth the investment. But, if you are someone who barely has brows and spends a good amount of time in the morning drawing them on, then YES! It is worth it!
Have more questions? Check out Huemon Beauty’s F.A.Q. page for additional information on the process!
My experience
On to the good stuff now! So about 6 weeks ago, Huemon Beauty and I partnered up to decide which semi-permanent makeup service would best fit my lifestyle. The makeup services provided include: eyebrows, eyeliner, freckles, and lips. I knew immediately I wanted to get my brows done (who doesn’t like having their brows on fleek 24/7).
Huemon Beauty is owned by a super sweet lady named Deyonne. Her salon is located in Rockville, so if you live in the DMV area, then I highly recommend checking her out.
Prior to my appointment, I was advised to follow the below care commitments. The list is a little hefty, but each item is extremely important in order to achieve the best results.
care commitments
Tips you should know
– Get the procedure done in the Fall
– Face wipes are your best friend for the first two weeks
– Use the antibacterial cream provided by your artist every day
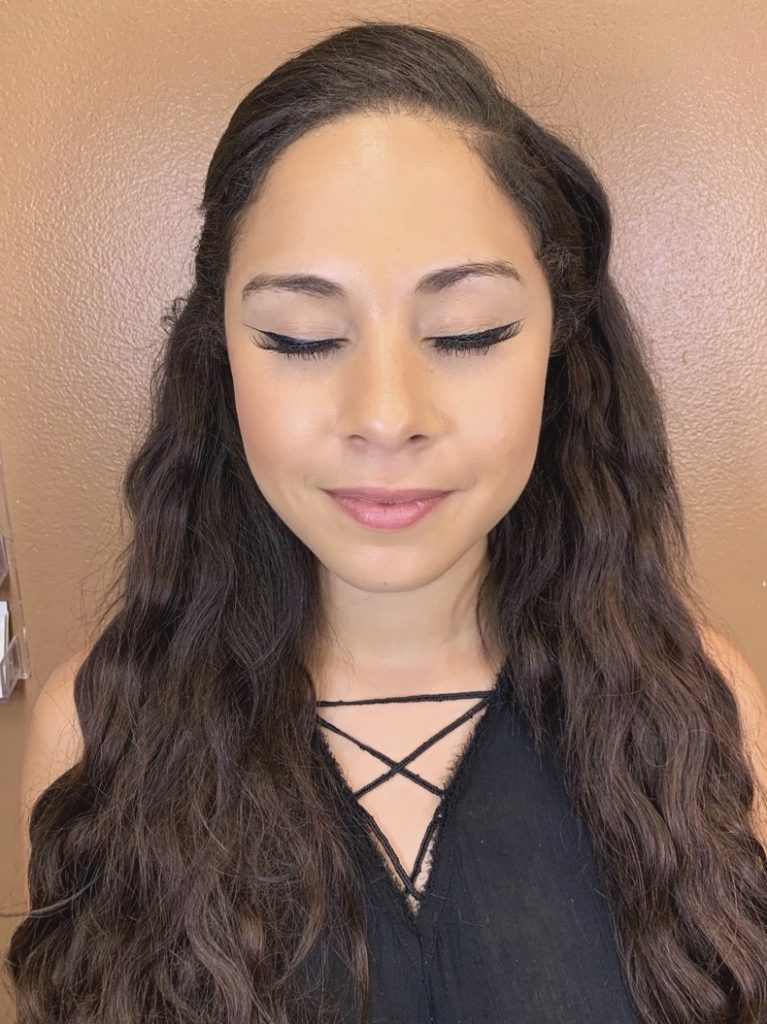
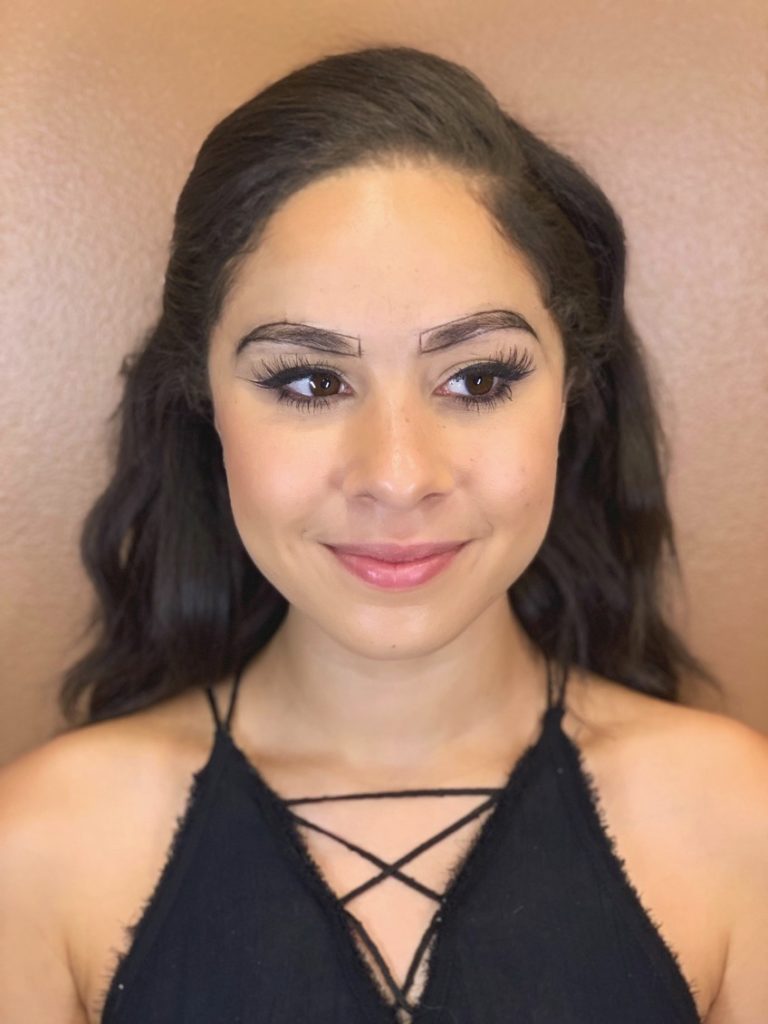
before
I had pretty full brows to begin with, however, I was still filling them in whenever I wore makeup (aka everyday).
The process
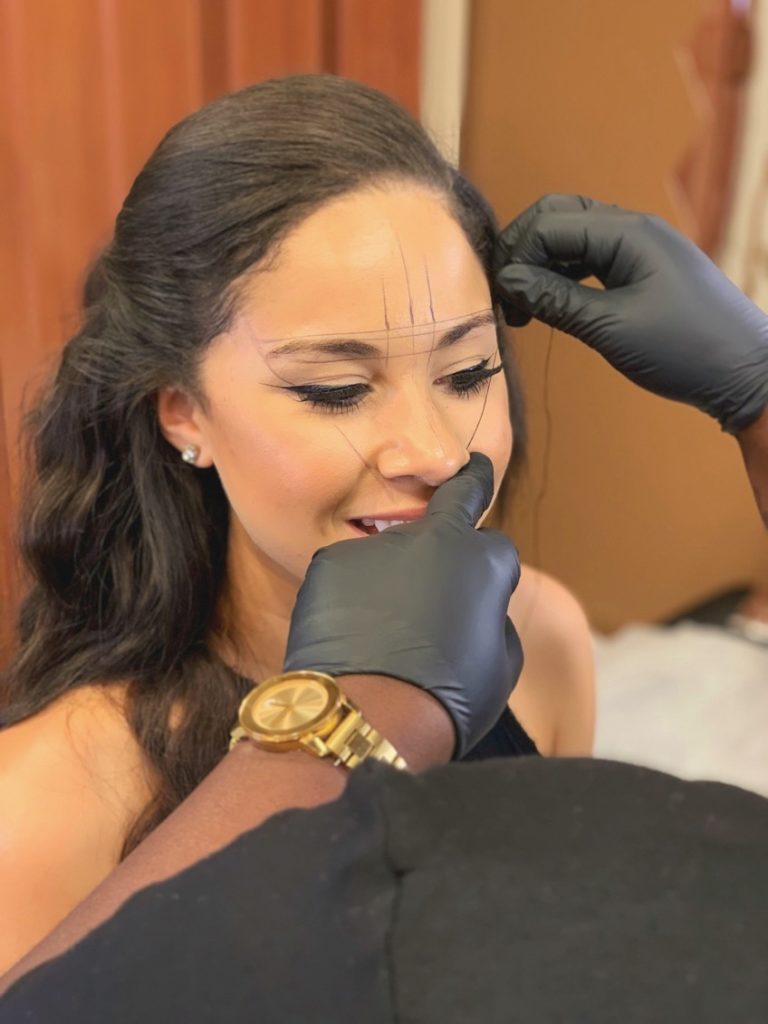
We started off with creating the perfect shape for my face. Deyonne was EXTREMELY precise. Like extremely. She would not accept anything less than perfect. That being said, this was by far the longest part of the process. It took about 1.5 to 2 hours to ensure that both sides were even.
That is a good thing though. You want to ensure that your artist takes their time with this step since you will have to live with the results for the next year or so.
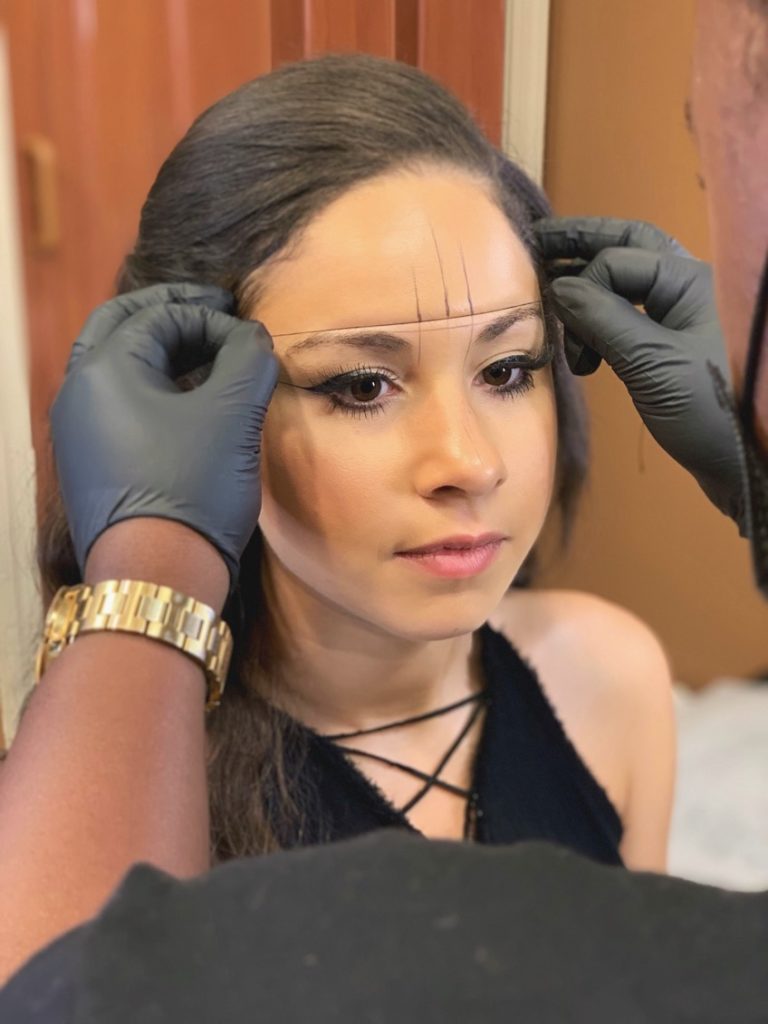
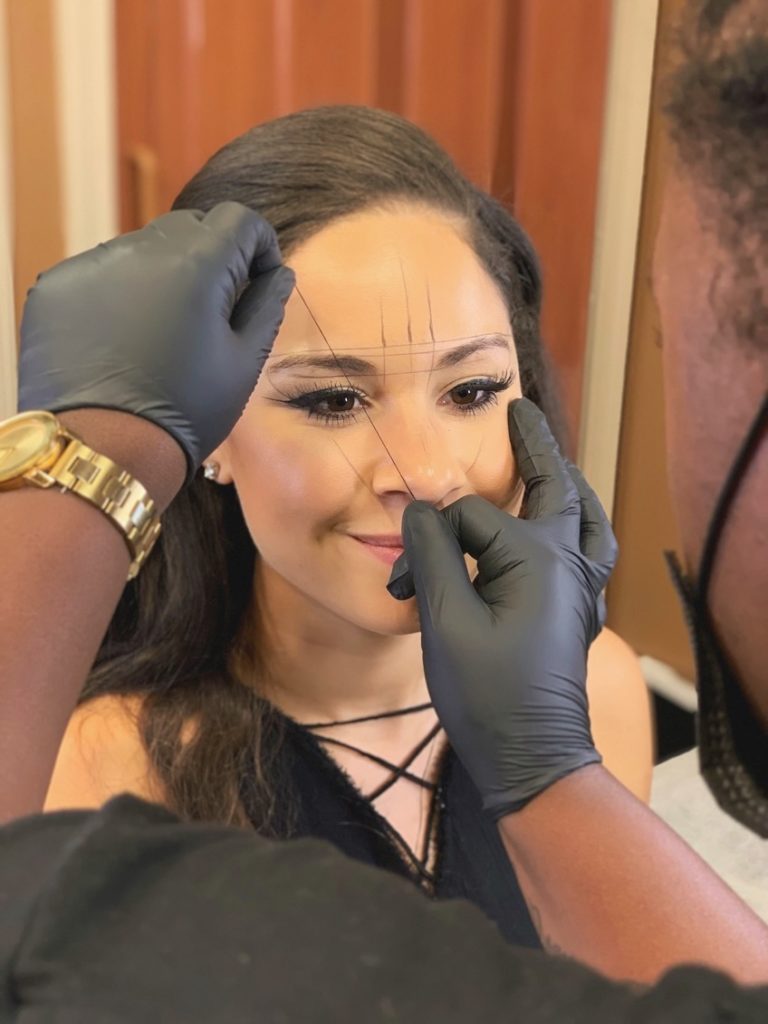
Pre-inked mapping string is used to graph out the starting/stopping points for your brows as well as the arch.
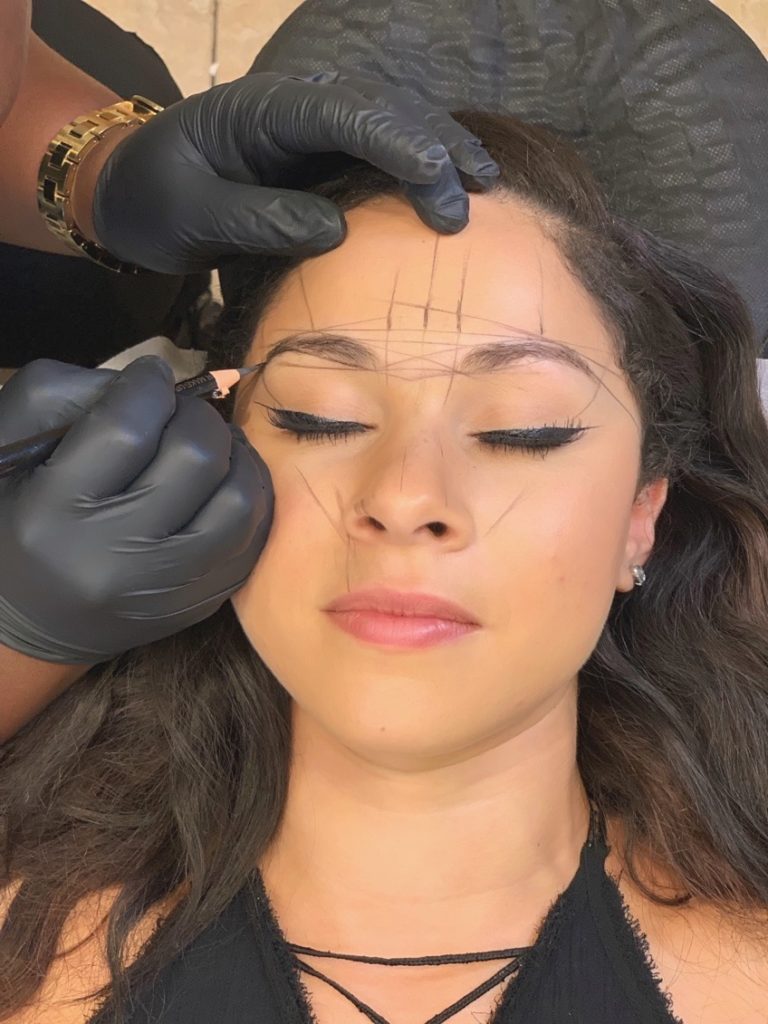
From there, Deyonne was able to draw the final shape that fit best for my face.
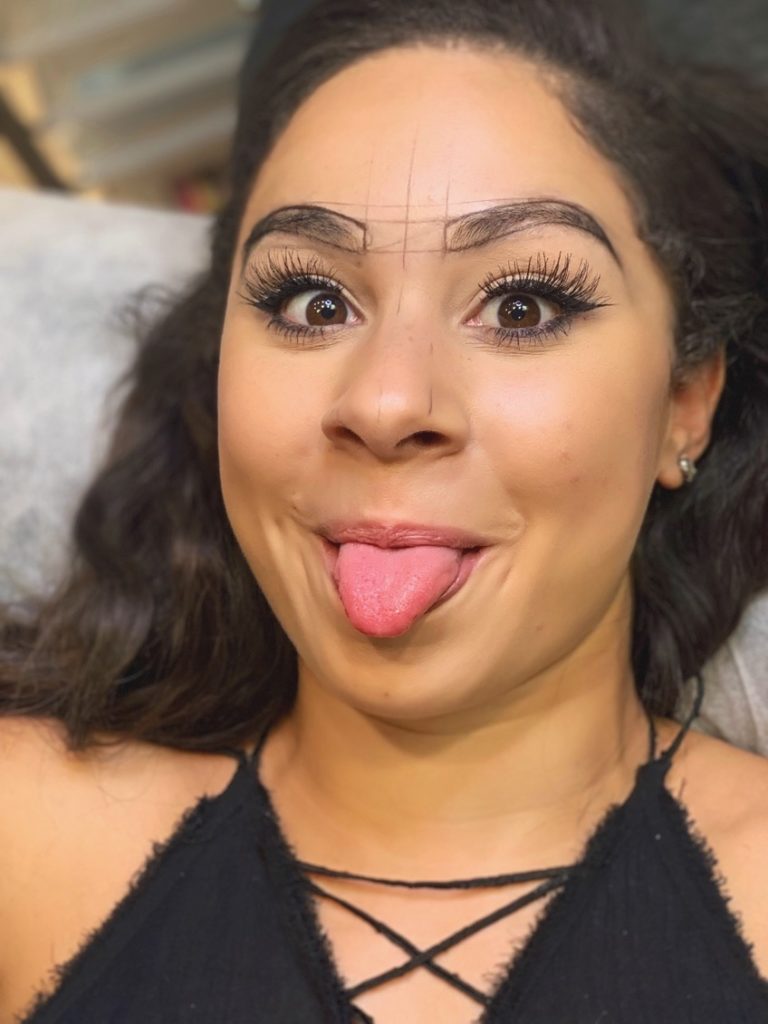
The mapping lines were then erased so that only the brow outline was left.
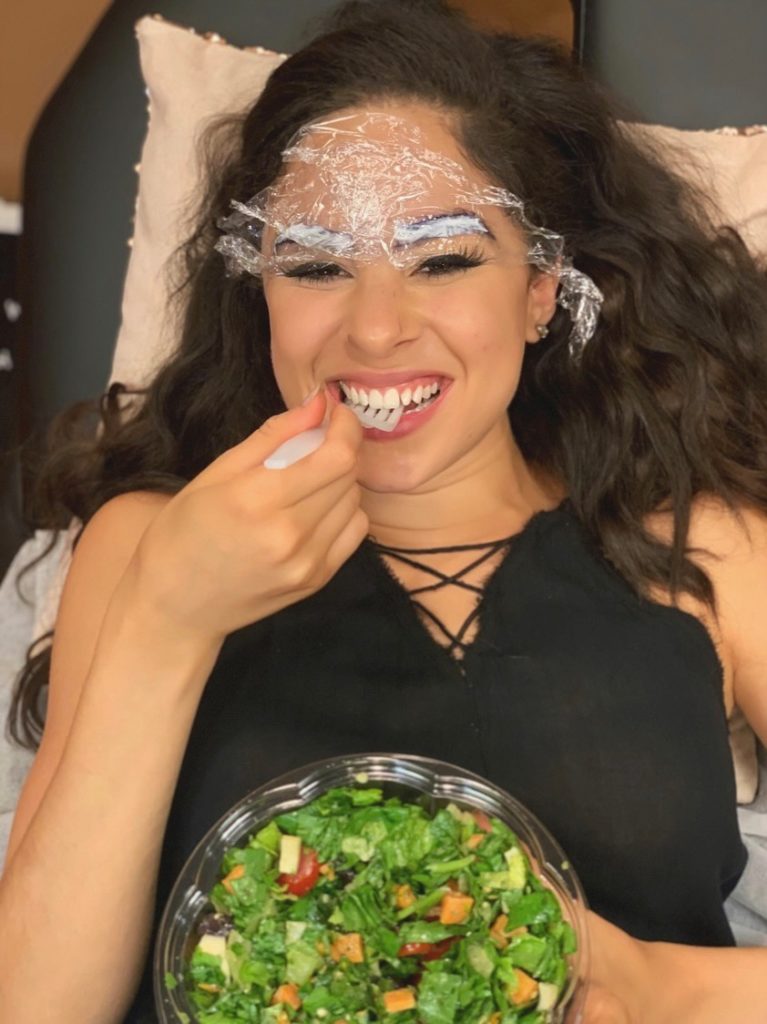
Next, was the numbing cream. Definitely make sure you get the numbing cream! It has to sit for 30 minutes before actually microblading.
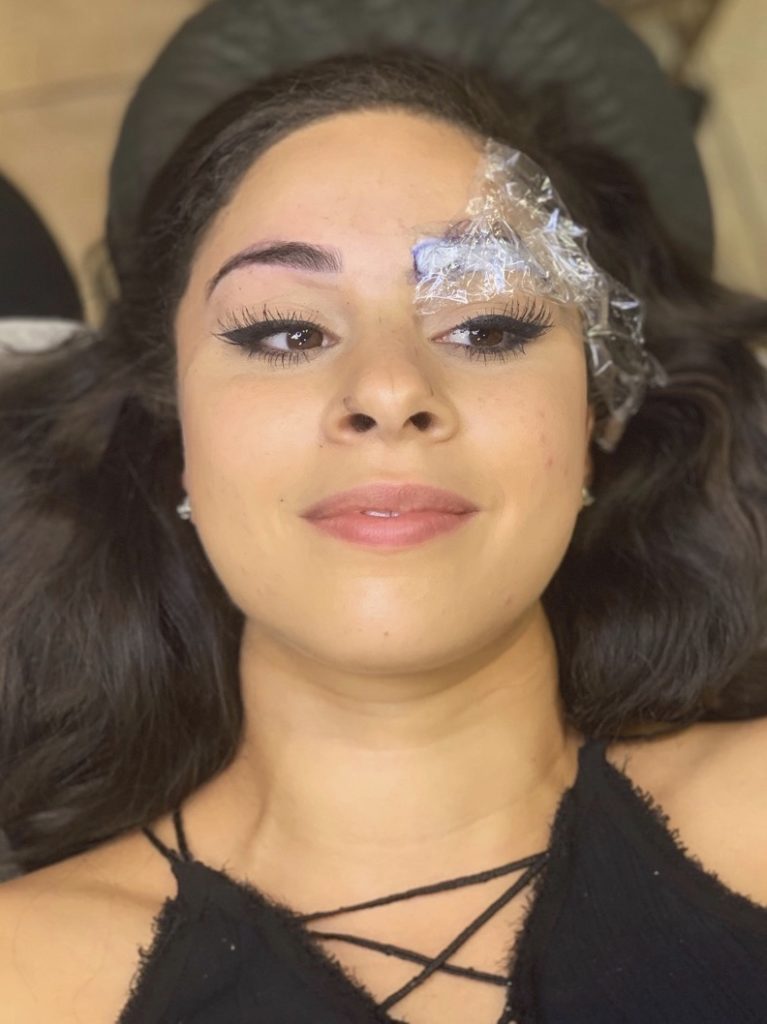
I recommend using this time to eat something!
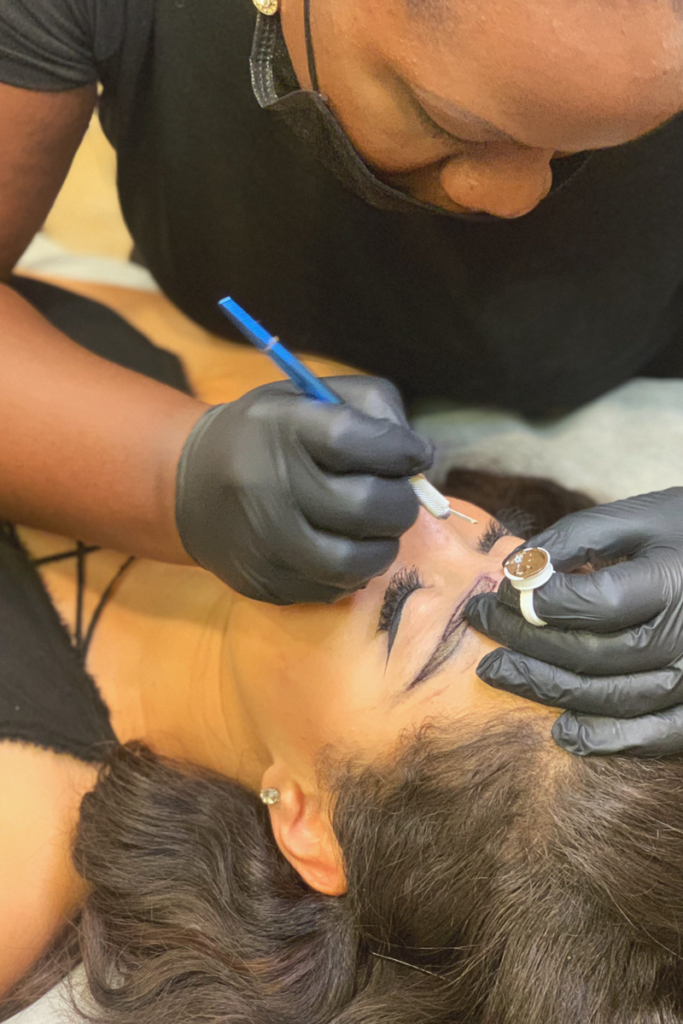
Let the process begin.
I know the biggest question is: does it hurt? In my opinion, no. Is it uncomfortable? Yes. The part that freaked me out the most was the sound. You can literally hear the needle cutting into your skin, but couldn’t really feel it.
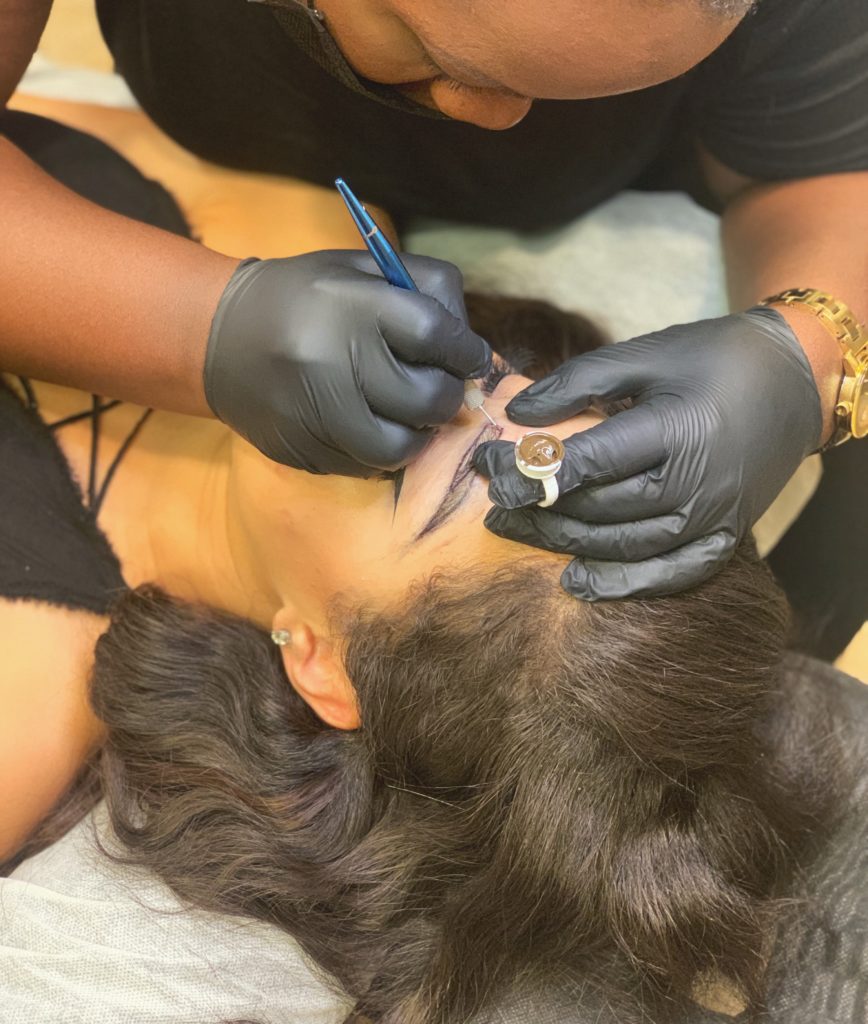
Thankfully, this was the quickest part of the whole procedure. It took about 45 minutes to do both eyebrows.
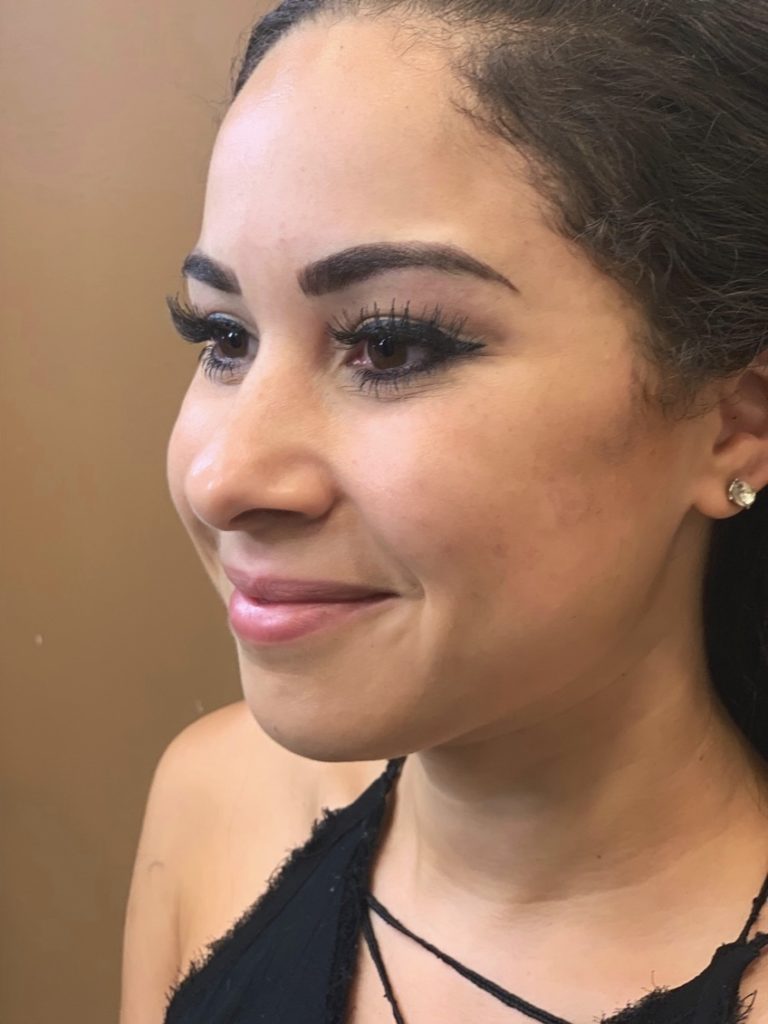
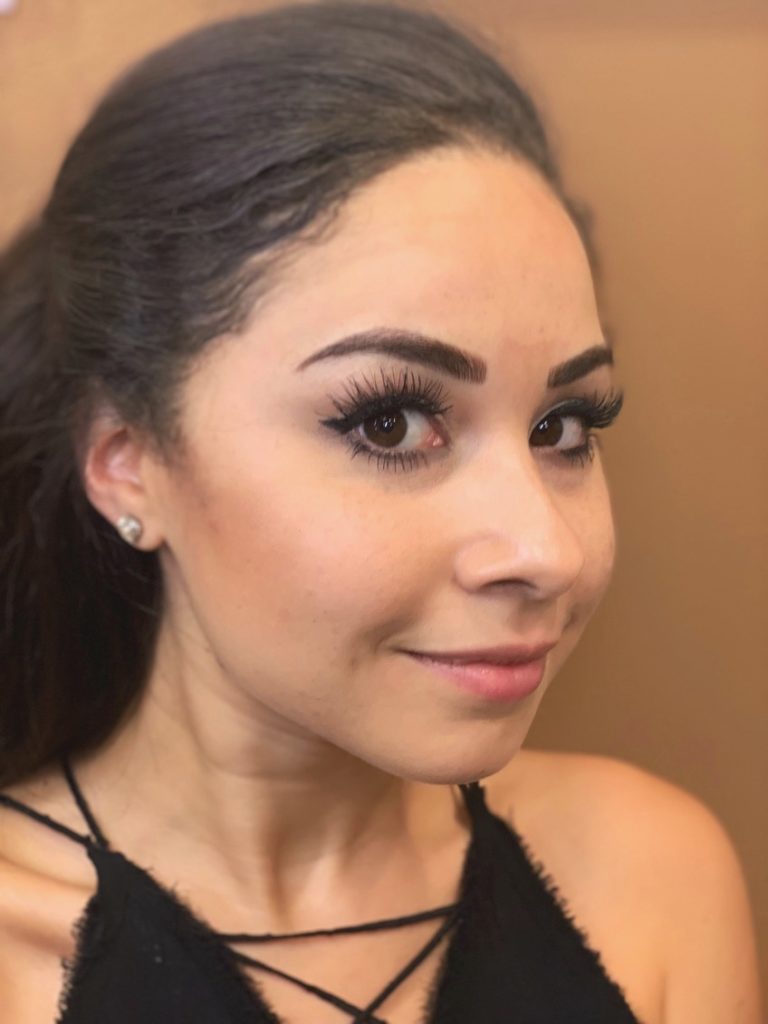
after
The results were incredible! Huemon Beauty really did do an amazing job. From start to finish, both Sabir and I were very impressed! I have provided the after care commitments below in addition to a diary about my experience afterwards.
After care commitments
Healing process
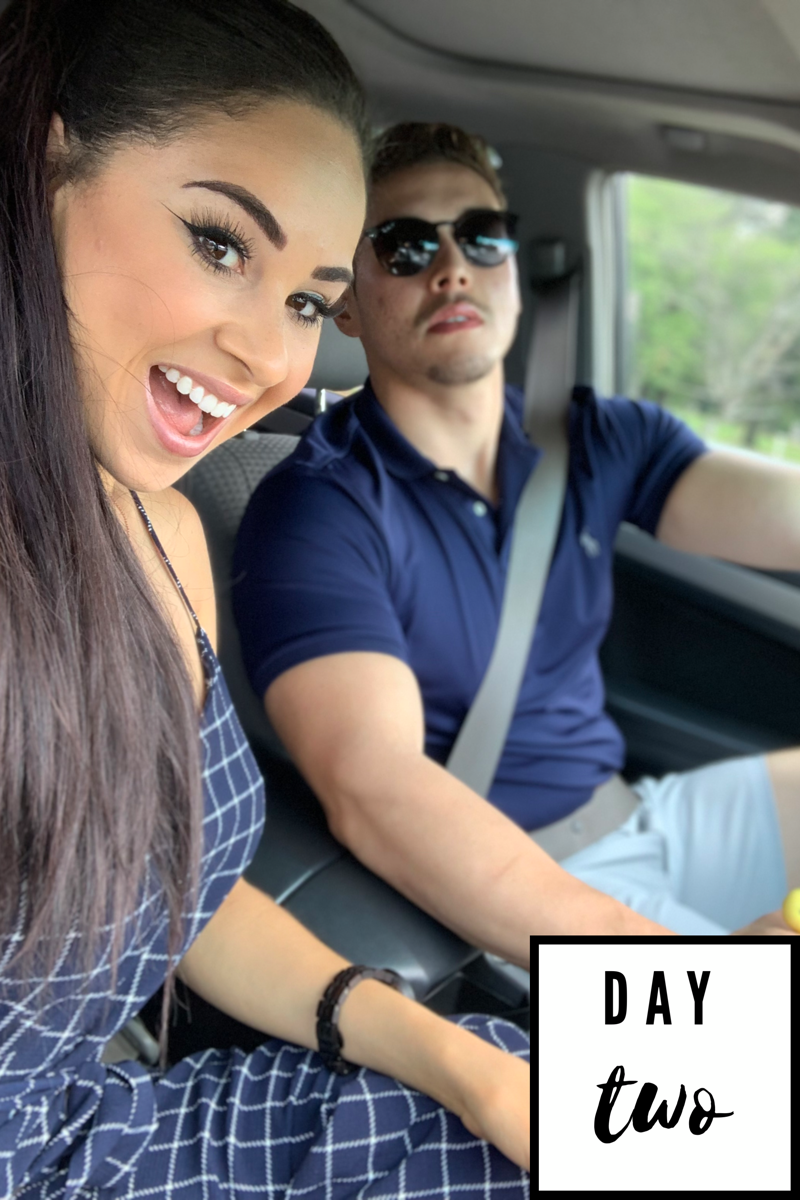
Day 2 – My eyebrows were very dark due to scabbing. I experienced a little pain but it was bearable. Showering was pretty easy with the visor, however, I still tried to keep my face out of the water.
Days 3-4 – I started to notice a ton of scabbing under my brow hair, making my brows look a tad darker. I would say that these were the toughest days only because it was extremely noticeable that I did something different.
Day 5 – The scabbing began to heal on day 5 (THANKFULLY)! My left eyebrow bled more during the microbleeding so there was more healing to be done there.
Day 6 – The first peel! The front of my brows started to peel. Although the scabs were coming off, I was still able to see color.
Days 7-10 – My brows continued to shed. I would say that this was my least favorite part of the healing process.
Day 15-Now – Completely healed!
I am coming up on six weeks and I can genuinely say that it is worth it! I am in love with my brows and love the fact that I can just wake up and head out the door. My six week touch up is approaching and this is when we add ink to the areas that may have lightened up.
As a disclosure, I partnered with Huemon Beauty so that I could share my experience with my audience. That being said, these are still my honest opinions. I would never recommend something I didn’t truly love.
What do you guys think about microblading? Let me know in the comments below if it is something you would consider doing!